Tutorial
Get started with Submify
From install to your first stored submission. Each step links to the full documentation.
Install Submify
Run the one-command installer on Ubuntu or Debian, or use Docker Compose or CasaOS. Every path ends with the same Docker Compose stack.
Create a project and copy its keys
Each project has its own public and secret key pair. Browsers POST JSON with the public key.
Connect your form
Point any HTML or JS form at your Submify address. The docs include a ready prompt you can give an AI assistant to wire it up.
Review submissions
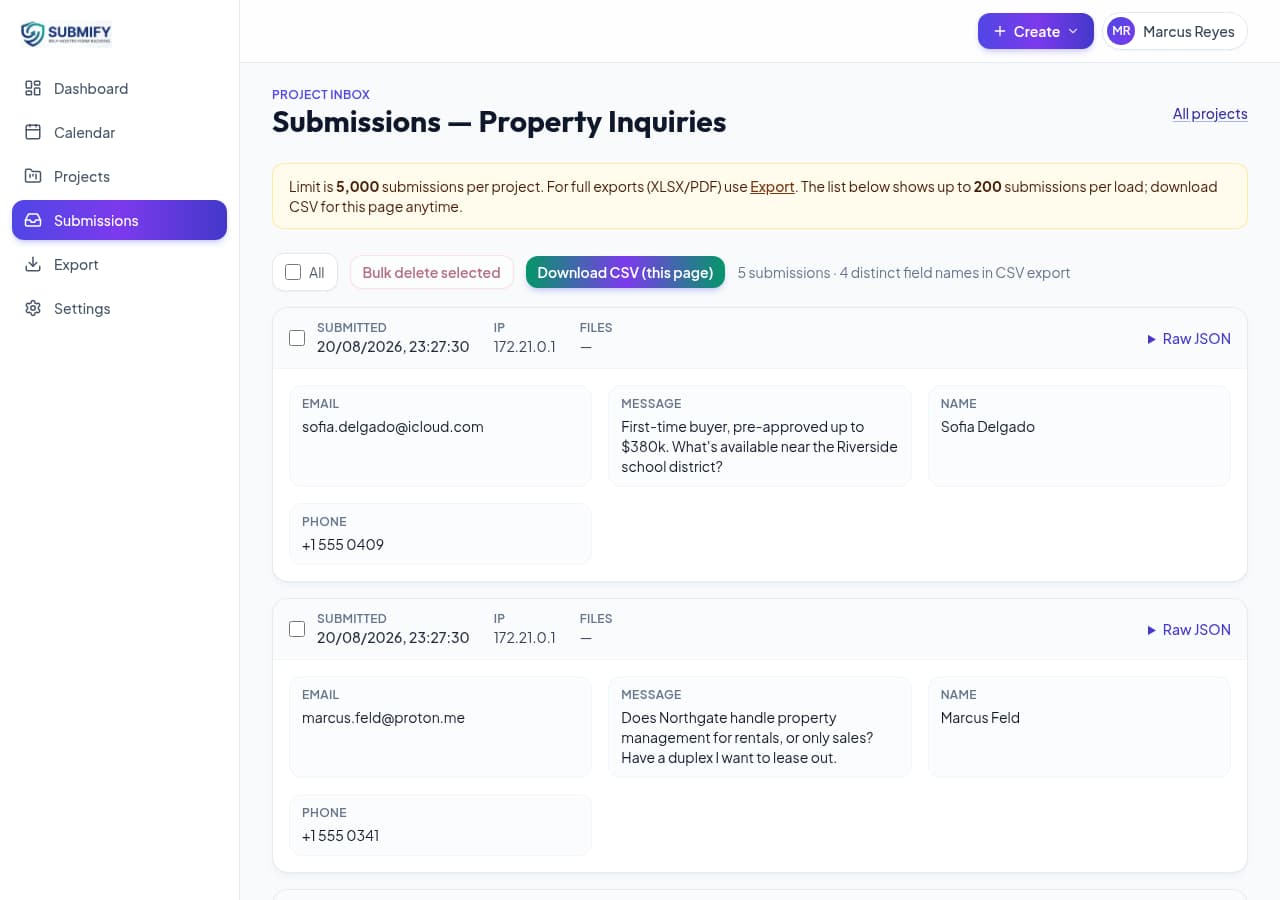
Open a project to review the submitted fields and raw JSON. Search the list, download CSV, or export to XLSX and PDF.
Add booking
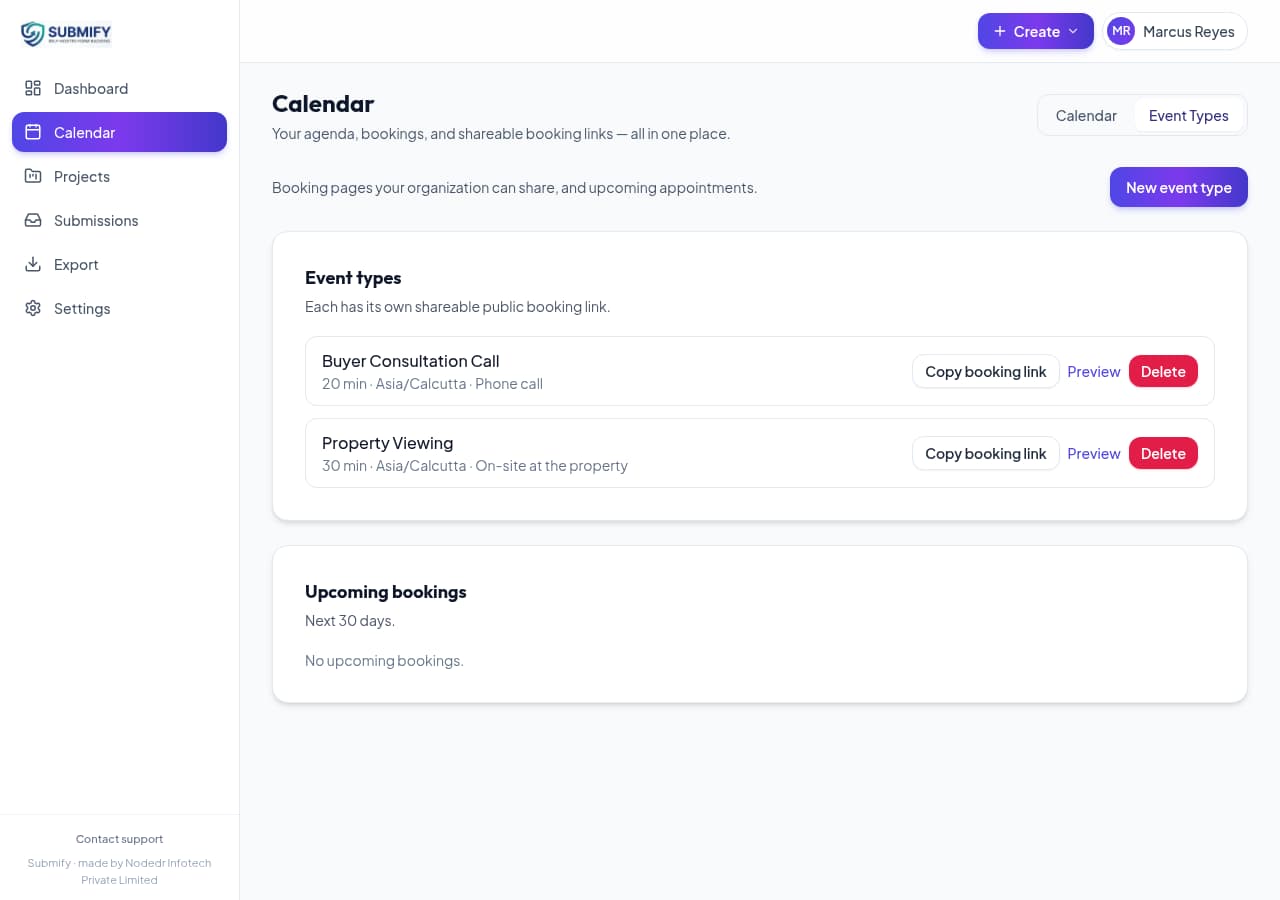
Create event types with your own availability and share a public booking link.
Share view-only access with a client
Give a client a portal link so they can see their own submissions without access to anything else.
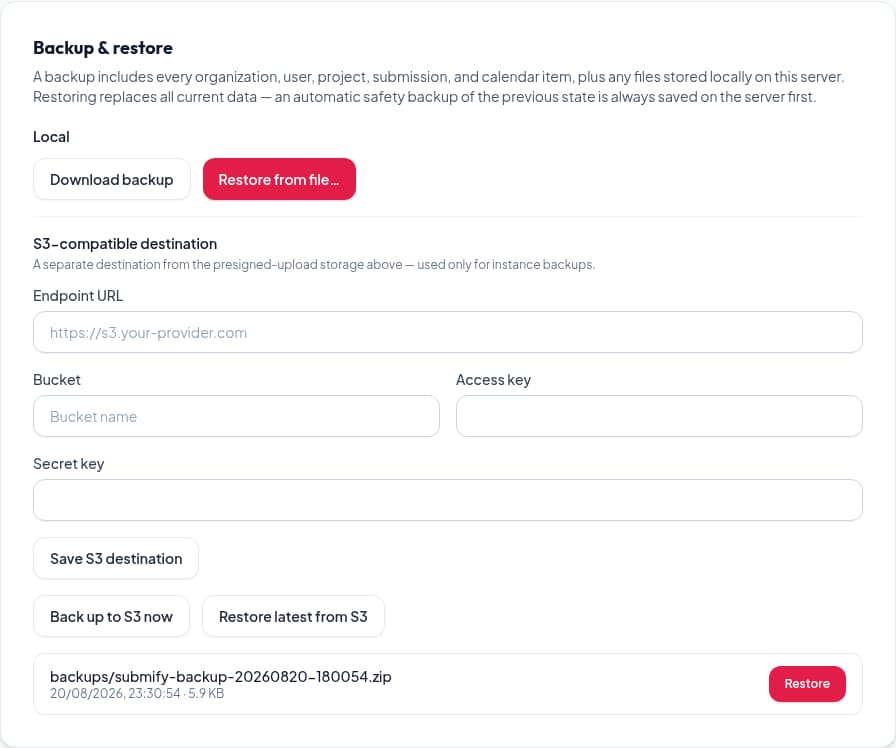
Back up and update
Connect any S3 bucket, back up on a schedule and update from the settings screen.